Starting an e-commerce venture is one of the most exciting side hustles you can jump into. Whether you want to sell handmade crafts, launch a print-on-demand brand, or dropship trending goods, learning how to start a shopify store gives you complete control over your digital storefront.
With over 4 million businesses powered by Shopify, it remains the gold standard for online selling. But if you’re a beginner, setting up a store from scratch can feel overwhelming. That’s why we’ve built this complete shopify setup checklist to guide your ecommerce store launch step by step.
In this selling products online guide, you’ll learn every core phase needed to turn your concept into a profitable business.
Step 1: Pre-Launch Foundation & Niche Research
Before touching any technical settings, you need a clear blueprint for your business. Skipping foundational planning is the primary reason many e-commerce side hustles struggle early on.
1. Identify Your Target Market
When figuring out how to start a shopify store, target a specific audience rather than trying to sell everything to everyone. Ask yourself:
- Who is my ideal customer?
- What specific problem does my product solve?
- Is there steady demand for this niche?
2. Sourcing Strategy
Decide early how you will acquire inventory:
- Dropshipping: Minimal upfront risk; suppliers ship directly to your buyers.
- Print-on-Demand (POD): Custom apparel and merchandise printed when an order is placed.
- Private Label / Wholesale: Buying physical inventory in bulk to build higher profit margins.
- Handmade / Custom: Creating unique, proprietary products.
3. Business Fundamentals
- Choose a memorable business name.
- Register a clean .com domain name.
- Secure matching social media handles across TikTok, Instagram, and Pinterest.
Step 2: Creating Your Account & Admin Dashboard Overview
Once your concept is ready, opening your store takes only a few minutes.
- Go to Shopify’s website and sign up for a free trial.
- Name your store (don’t worry, you can change this later).
- Access your main dashboard.
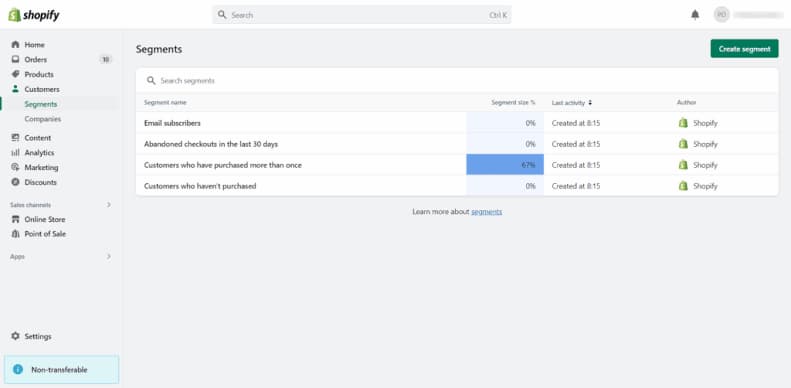
The left-hand sidebar gives you full access to:
- Orders: Track live purchases and manage customer requests.
- Products: Add items, set prices, and build collections.
- Analytics: Monitor traffic, sales conversions, and customer behavior.
- Online Store: Customize your storefront design and blog posts.
Step 3: Choosing and Customizing Your Store Theme
Your web design functions as your virtual storefront window. A clean, mobile-first design builds immediate trust with visitors.
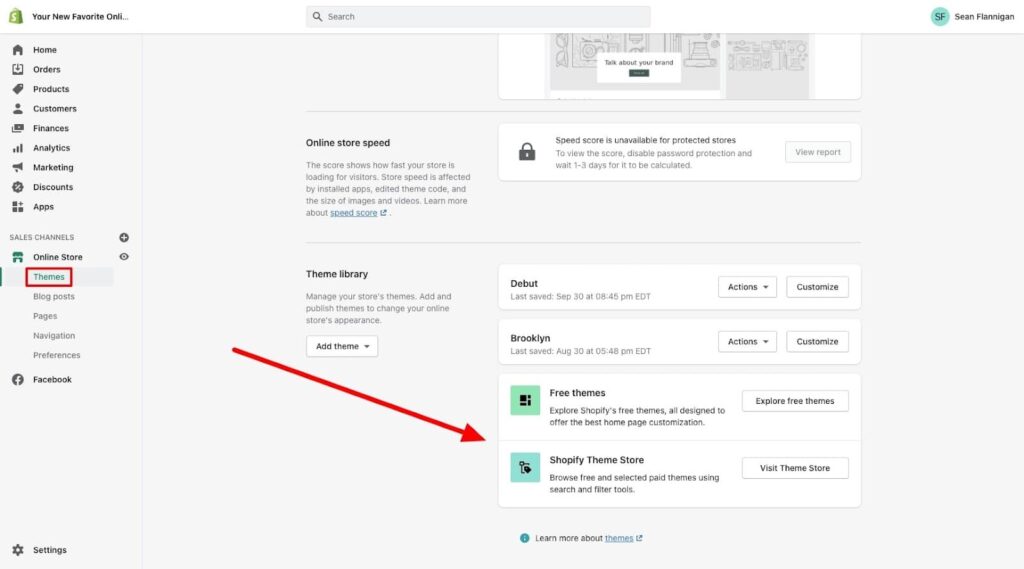
Selecting the Right Theme
Shopify offers high-quality free themes (such as Dawn, Refresh, or Sense) that perform exceptionally well for beginner stores. Premium themes ($180–$350) offer advanced filters, mega menus, and custom sections.
Customization Checklist
When following a reliable shopify setup checklist, execute these visual edits in the Theme Editor:
- Header & Logo: Upload a high-resolution transparent PNG logo.
- Brand Colors: Choose 2–3 brand colors for call-to-action buttons and backgrounds.
- Typography: Limit your site to 2 complementary fonts to keep loading speeds fast.
- Homepage Sections: Include a compelling hero banner, featured collections, social proof/reviews, and key value propositions (e.g., “Free Shipping Over $50”).
Step 4: Adding Products and Building Collections
Your product pages do the heavy lifting when converting visitors into paying buyers. Learning how to start a shopify store requires mastering product presentation.
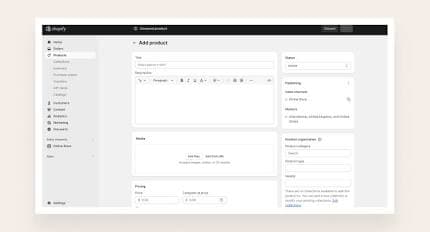
Anatomy of a High-Converting Product Page